The new home which we have waited 3 years and 5 months for, is finally ready! Well ok sort of ready, which explains why we have been pretty quiet in recent times and will be for the next couple of weeks to come.
We have just received keys to our new home but yes with a brand new home comes all the hard work before we get to enjoy it. Taking over the unit from the developer, ensuring everything is satisfactory and that there are no major defects, commencing renovations, furniture deliveries, getting the power, water and internet up and then the big move (again!)…trust me the list is alot longer than this in reality and already I feel tired looking at this list. :p
Because we have decided not to hire an Interior Designer (ID), we had to research, buy, schedule and oversee everything on our own. But yes that’s another post for another day.
However the first order of business for us was really to decide if we wanted to hire a professional defects inspection company to inspect our new place.
For those who may not be familiar with the process, owners of new developments are given a certain window to submit a list of defects found in their unit to their developer, after receiving their keys. This defects list can either be completed by the owners or by a professional defects inspection company.
There are two school of thoughts when it comes to deciding whether or not to hire a defects inspection company. Because the defects inspection company will be very very thorough and detailed and will pick up defects down to the nitty gritty (stains, chips, scratches), some people argue that they don’t have time for the tiny comestic issues and therefore are satisfied with doing it themselves and just picking up the big glaring items.
Some others prefer a professional doing the job because they either don’t have time to pick out the defects themselves or they want to ensure that every single defect, big or small is rectified before moving in.
We, fall in the middle of that spectrum. We have a very tight timeline to meet (1 month to rectify defects, do renovations and move) and really just want to rectify the big issues. However we recognise that not all big issues are glaring and staring at you in your face (eg. hollow tiles and uneven flooring etc). With 2 kids in tow on weekends, we also don’t have the luxury of spending a whole Saturday doing detailed checks around the new unit (I suspect the kids might do more damage in that 1 afternoon then we can find :p). So we decided to hire a professional defects inspection company to conduct the checks for us.
We touched base with Absolute Inspection a few months before receiving our keys and moved our tentative date a few times when our keys were delayed. Wee Kwang from Absolute Inspection was very accommodating, helpful and always responsive. This gave us a lot of comfort because we were already very stressed out by the delay of keys and the last thing we wanted was to be further delayed by a late inspection date.
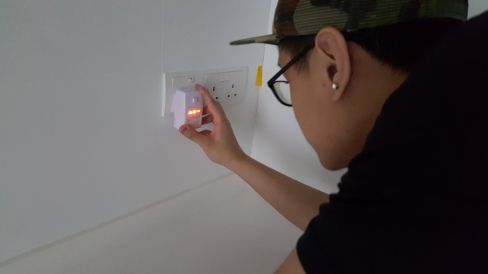
Because of our packed schedules, I passed my unit key to Wee Kwang a day before the inspection. This way they could enter the unit and proceed with the inspection without me having to be present the whole way. For those who prefer, you can open the unit for them that very morning or even stay throughout the inspection. We chose to come back once the inspection was done for them to run throught the defects found. Wee Kwang and his team took about 6 hours to finish our job.
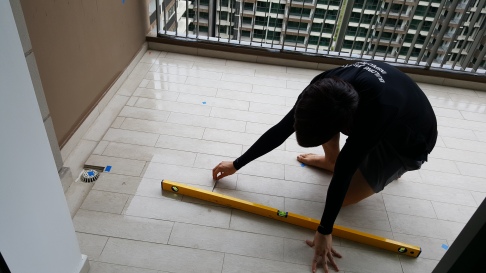
Checking floor level and unevenness in wet areas
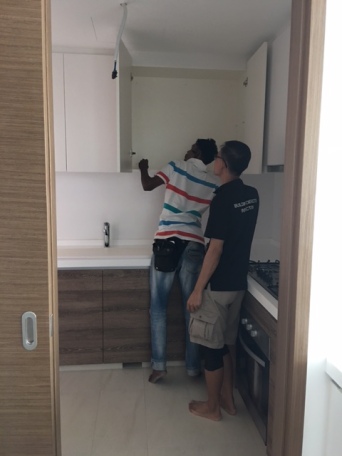
I had communicated to Wee Kwang earlier that we would only pursue the ‘big issues’ so you would think that they would have just gone for the obvious stuff and done a simplified check. But no, they did a thorough check as they would have done for all customers and I got a defect list with 90 odd number. That being said, they only went through the major issues with us which I was grateful for. 🙂 You will notice little blue post sticks indicating cosmetic defects, all over my walls, all through the unit.
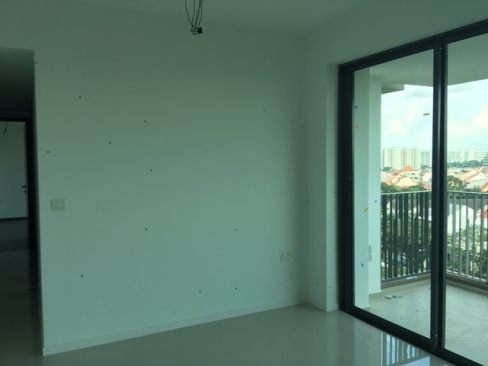
Can you spot all the small post sticks on the wall?
We submitted our defects list to the developer immediately after the inspection and waited for the developer to inform us of our Joint Inspection Date.
The Joint Inspection involves the owner and the developer meeting to run through the defects list submitted and for the developer to acknowledge which ‘defects’ they will be rectifying. Because we hired Absolute Inspection, Wee Kwang was also present for the Joint Inspection. In fact, Joel and I just stood by while Wee Kwang did all the talking.
The wonderful part about hiring a professional to do this, was the fact that I didn’t have the stress of haggling with the developer and their contractor on what was a defect and what was not. Wee Kwang helped to talk them through the defects and at times even offered solutions on how it can be rectified so that the contractor would not try to push it off as difficult or impossible or not a defect. In fact the entire process, was very cordial and stress-free because both parties knew each other from previous project inspections. I had expected the process to be a lot of finger pointing and pushing the blame but it was a far cry from that!
Warped cupboard doors that wouldn’t close properly. We had quite a few of these in the house.
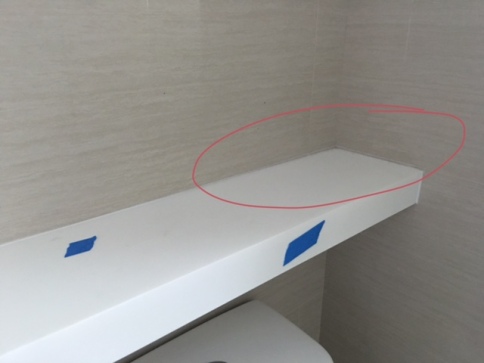
The table top is slanted

Cracks, chips and unsealed areas at the top of doors or cabinets where you may not usually check
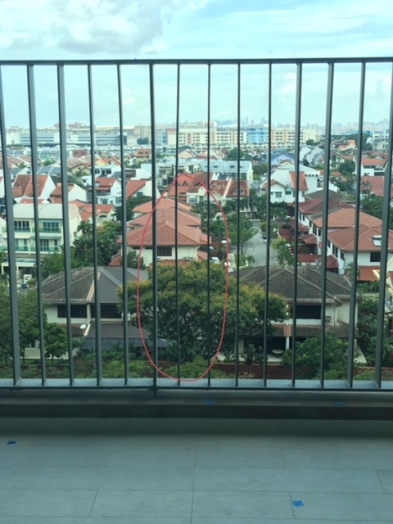
Bent balcony grille
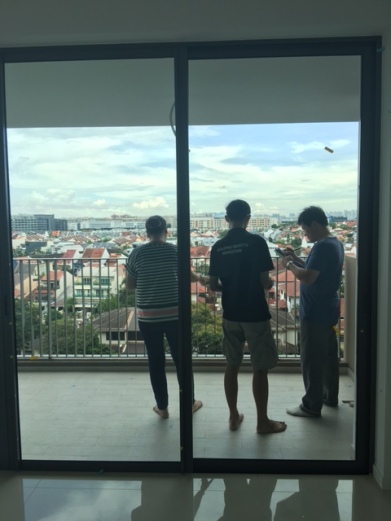
Joint inspection
After the joint inspection, we handed our keys over to the defects team to start their rectification. Because we didn’t have many major defects, our entire rectification process took about 2 weeks.
We met up with the defects team after 2 weeks to check that all the rectifications had been made to satisfaction and Wee Kwang was again onsite to conduct the checks.
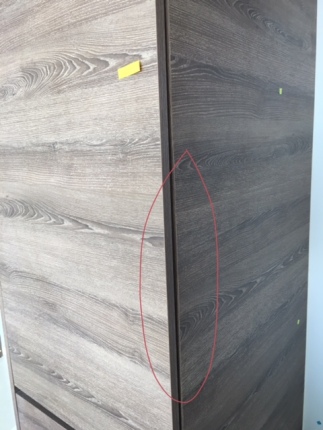
While most items were rectified, there were still some that were either not done to satisfaction or they might have missed out on. We were blessed with a very hands on defect team/ developer’s rep who immediately called workers onsite to do the touch ups and Wee Kwang was on hand to give specific advice on what needed to be rectified. Some items which were missed out were a slanted switch, kitchen cupboards with hinge issues, touching up of sealant and visible scratches on our balcony door. All of which were rectified on the spot!
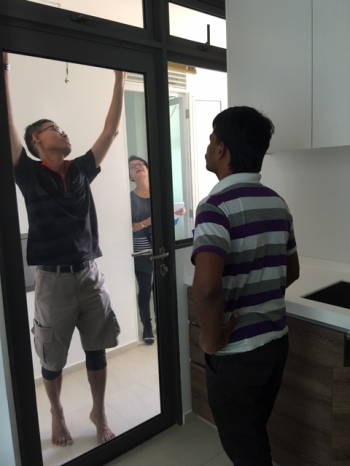
Wee Kwang double checking that the door was aligned
Explaining to the contractor what the issue was
Workers polishing my balcony door to rid them of scratches
We have finally completed the defects process which was one of the major concerns we had, going into this. I have to say the entire process was smooth and stress-free because we chose to engage a professional defects team to see to the job.
Now onto the next stage….renovations and furnitures! More on that in a couple of weeks! 🙂
JahBella’s Mummy
Disclosure: We received a media discount in exchange for a media review of Absolute’s Inspections services. No monetary compensation was received and all opinions are my own.